


Grey or dark teak does not automatically mean the deck is rotten. Deep furrows, caulk pulling from plank edges, or one area staying wet long after the rest has dried are more useful warning signs. The simplest approach is to identify whether the problem stops at the surface, the plank, the seam or the bond below before choosing cleaning, a local repair or a larger refurbishment.
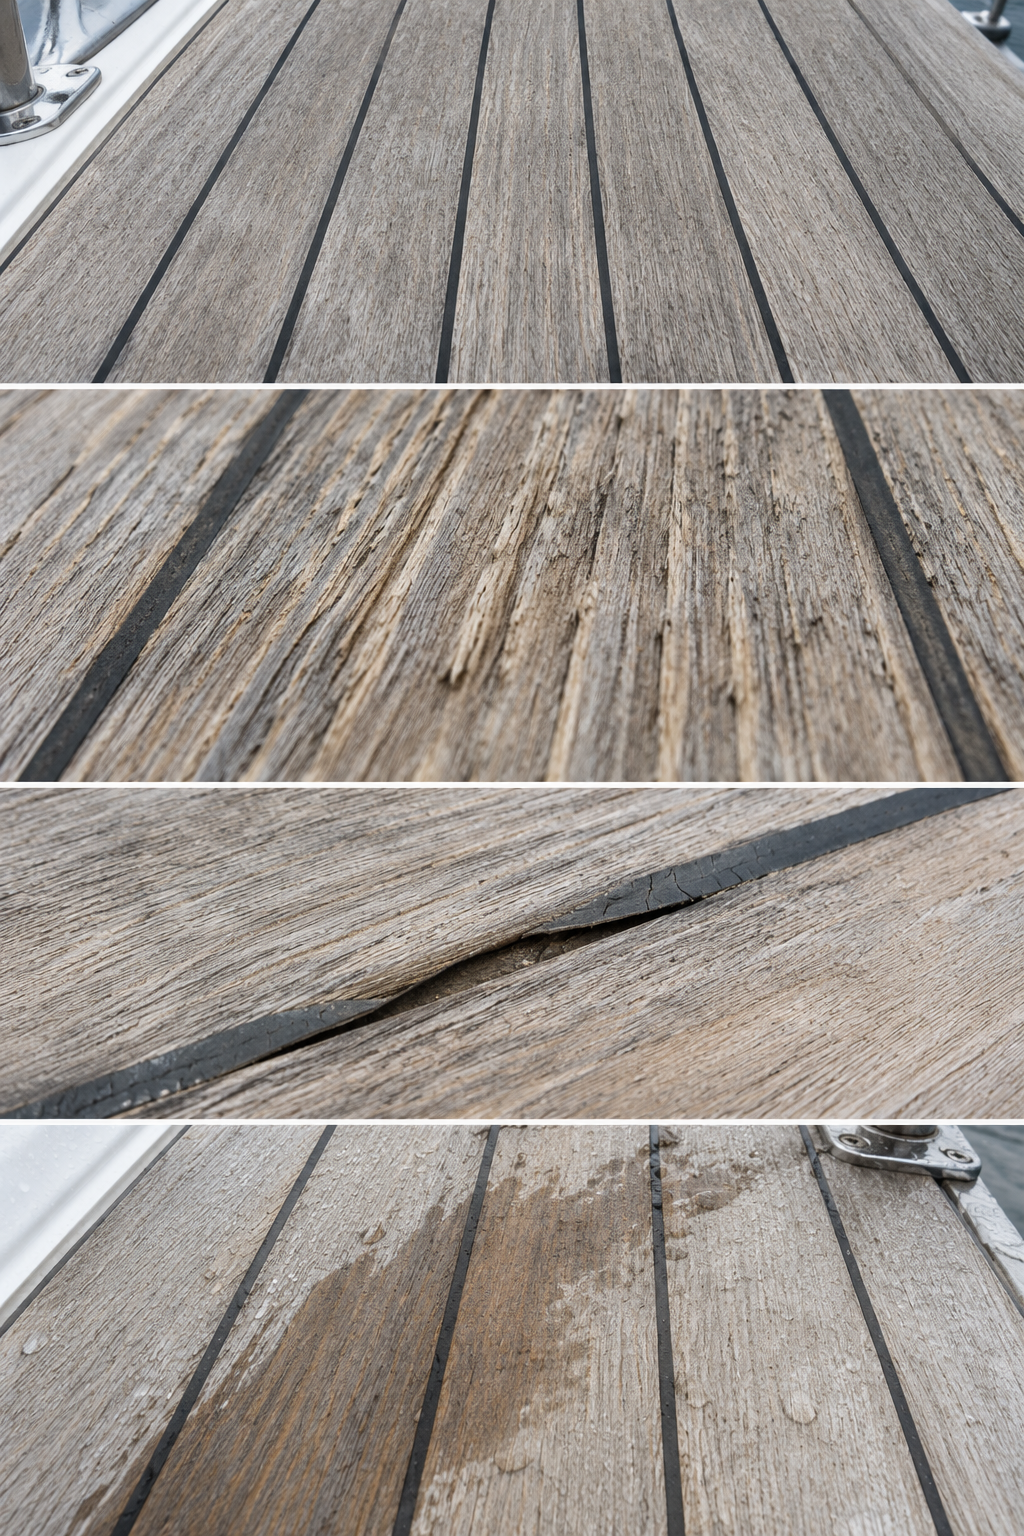
First question: has the colour changed, or is the deck damaged?
Uncoated teak naturally weathers toward a silver-grey colour in sun and rain. That alone does not prove decay. Salt, dirt, organic growth and spills can also darken the surface. These issues normally call for fresh water and a compatible gentle cleaner before any aggressive sanding or washing is considered.
Texture and local change are more informative. Look for pronounced furrows between the grain, raised fibres, caulk that is cracked, low or detached from a plank edge, and small areas that remain wet noticeably longer after rain. These signs can indicate surface-fibre loss, failed seams or moisture moving below the visible surface.
Why can a cleaner-looking deck become rougher?
Teak contains harder and softer grain. Excessive water pressure, stiff brushes and repeated harsh cleaning can remove the softer fibres first, leaving ridges and troughs. The colour may look even immediately after cleaning while usable plank thickness is being reduced.
Routine care should begin with fresh water, a soft brush or pad, and the concentration stated by the relevant product maker. Gentle brushing usually follows the grain so dirt is removed without deliberately abrading the wood. If the existing sealer, caulk or deck material is unknown, test an inconspicuous area and check the maintenance information for the actual deck system.
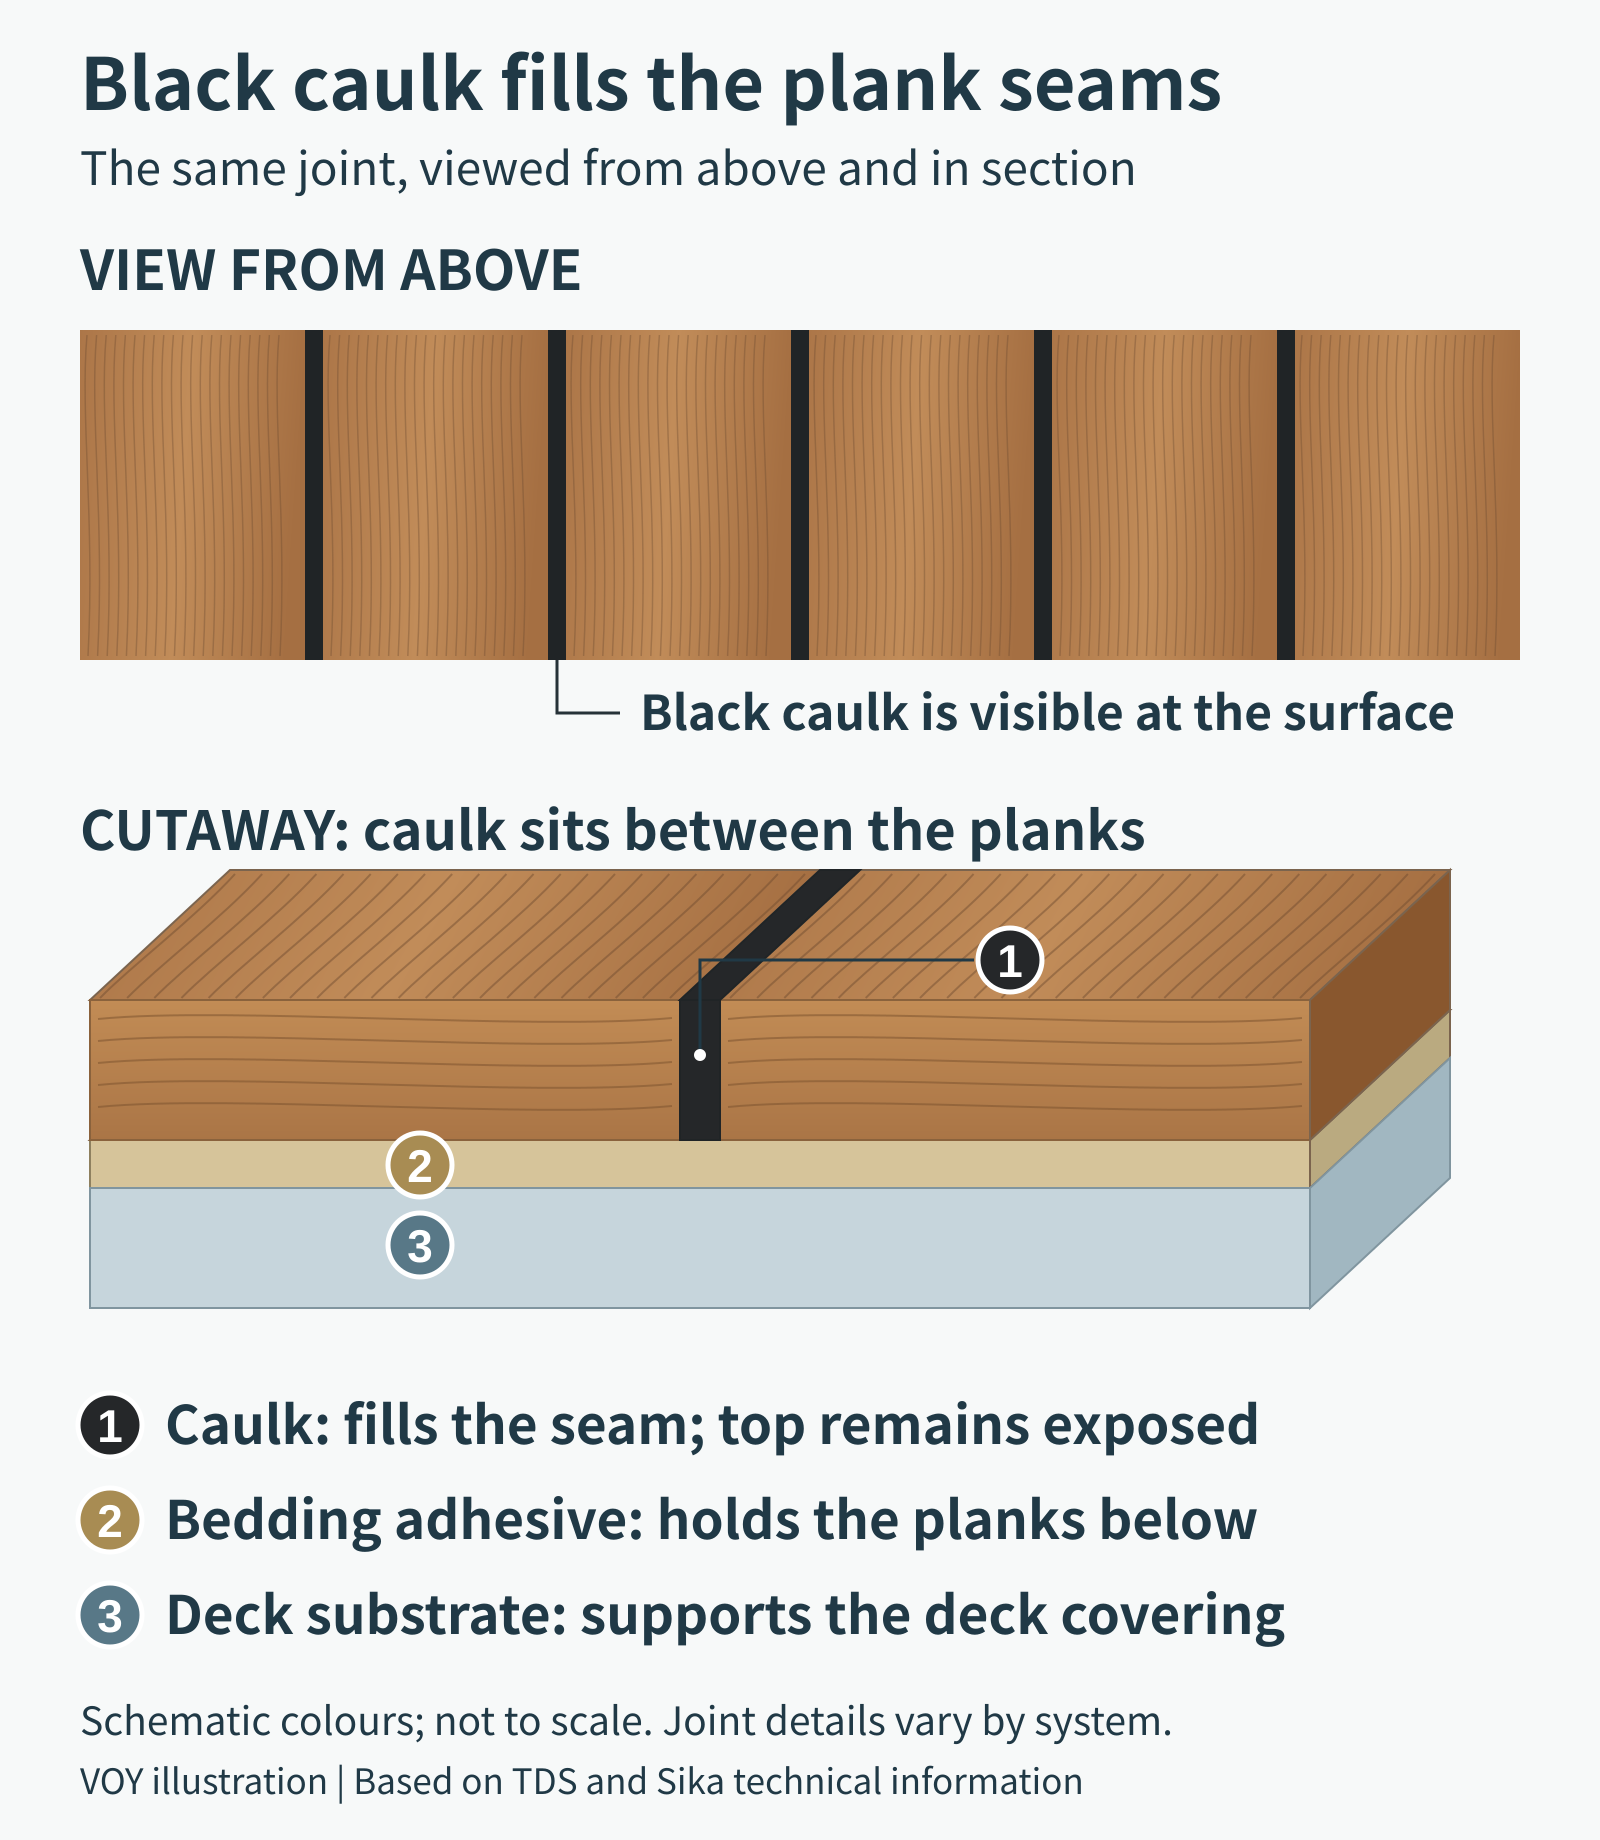
The black line is not decoration
The black material between teak planks is normally marine deck caulk. It must bond to both seam walls while allowing limited movement as wood responds to temperature and moisture. A seam that is only slightly low but still well bonded may need a smaller intervention. Caulk that is cracked, hard or pulling away should be removed where it has failed, followed by compatible preparation and re-caulking.
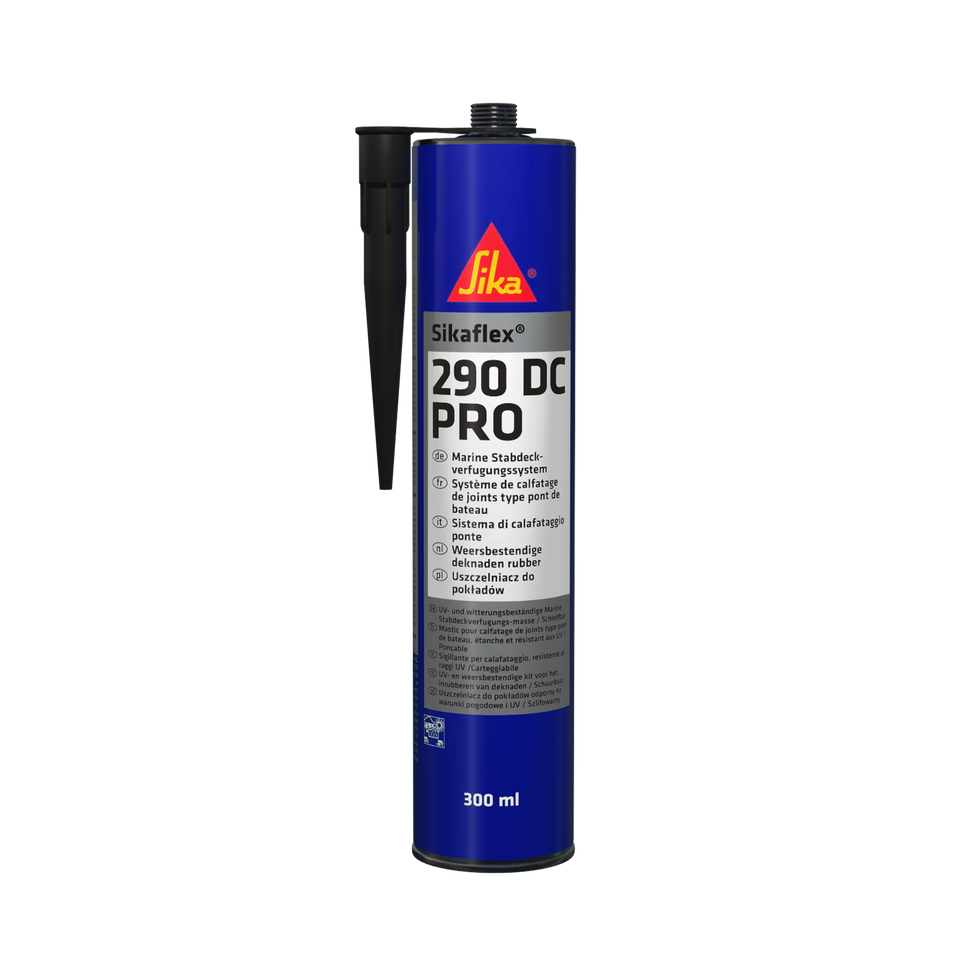
This is not simply a matter of smearing new black sealant over an old line. Old material, oil, moisture and incompatible primers can prevent a sound bond. Sika’s product information for Sikaflex-290 DC PRO, for example, requires clean, dry surfaces free from grease, oil and dust, together with the specified wood preparation. Procedures differ between systems, so the current instructions for the chosen product take priority.
The demonstration uses the producer’s materials and methods; it does not apply unchanged to every caulking system. Watch the official follow-up on caulk application. If the player does not load, use the links above to watch on YouTube.
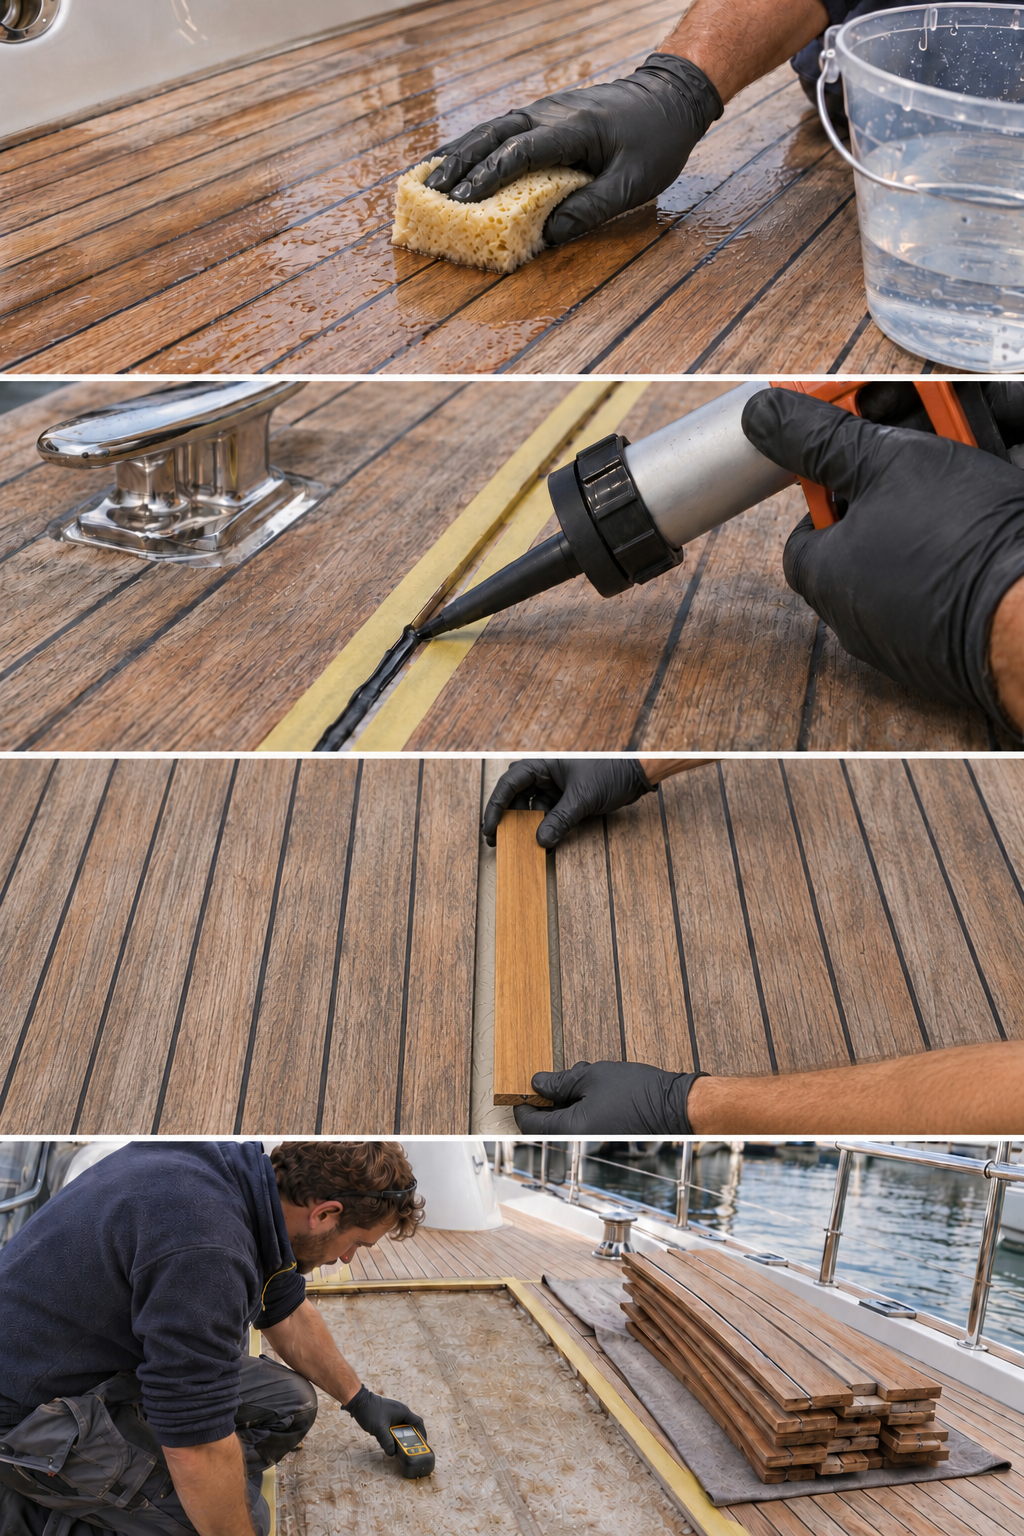
When is a local repair enough?
Repair scope should follow evidence, not colour. If only a short seam section has detached and nearby planks remain firm and dry, local re-caulking may be assessed. If one plank section is split, chipped or worn too thin while surrounding seams and bedding remain sound, that section may be replaceable.
Many failed seams, movement under foot, a different tapping sound or an area that stays damp after rain justify a wider investigation. The entry path and affected area should be identified before sanding the surface or covering seams with more sealant. Otherwise the visible symptom may be hidden while the failed bond or wet substrate remains.
Five checks an owner can make first
- Feel the texture, not only the colour: look for deep furrows, raised fibres or locally soft wood.
- Follow each black seam: note cracking, detachment, low spots, hardness or missing material.
- Compare drying after rain: record areas that stay wet longer, but do not diagnose hidden moisture from colour alone.
- Take close and wide photographs: close-ups show a seam or grain; wide views show whether the pattern is local or widespread.
- Identify the deck system: ask about remaining plank thickness, bedding method, caulk brand and previous sanding. Not every teak deck is built the same way.
| What you see | First response | Do not rush into |
|---|---|---|
| Even grey colour and surface dirt | Fresh water, gentle cleaner and a small test area | Heavy sanding merely to restore a golden colour |
| Deep grain furrows and roughness | Stop aggressive cleaning; assess remaining surface | More pressure washing or stiff brushing |
| One short seam cracked or detached | Mark the area; verify compatible caulk and process | A thin cosmetic layer over the old caulk |
| Multiple loose areas or persistent dampness | Inspect bedding and substrate; trace the water path | Sanding or sealing before finding the cause |
When should a technician inspect the deck?
An owner can usually handle routine salt and light dirt with a gentle method suited to the deck. Ask a technician familiar with marine teak systems to inspect detached caulk, cracked or moving planks, leakage around deck fittings, persistent local dampness, or any plan for large-area sanding. On an older deck, remaining teak thickness and the substrate below can materially change the repair that is possible.
Voy Yachting can help owners organise photographs, define an inspection scope and coordinate appropriate deck repair or refurbishment. The final method depends on the yacht’s construction, materials and physical inspection. Visit Voy.hk for more information.
Sources
- Teakdecking Systems: Teak Deck Maintenance Systems for Long-Term Performance (accessed 14 November 2026)
- Teakdecking Systems: How to Remove Old Caulking and Re-Caulk Deck Seams (accessed 14 November 2026)
- Sika: Sikaflex-290 DC PRO product information (accessed 14 November 2026)
- Sika Marine FAQ: timber deck inspection and repair (accessed 14 November 2026)