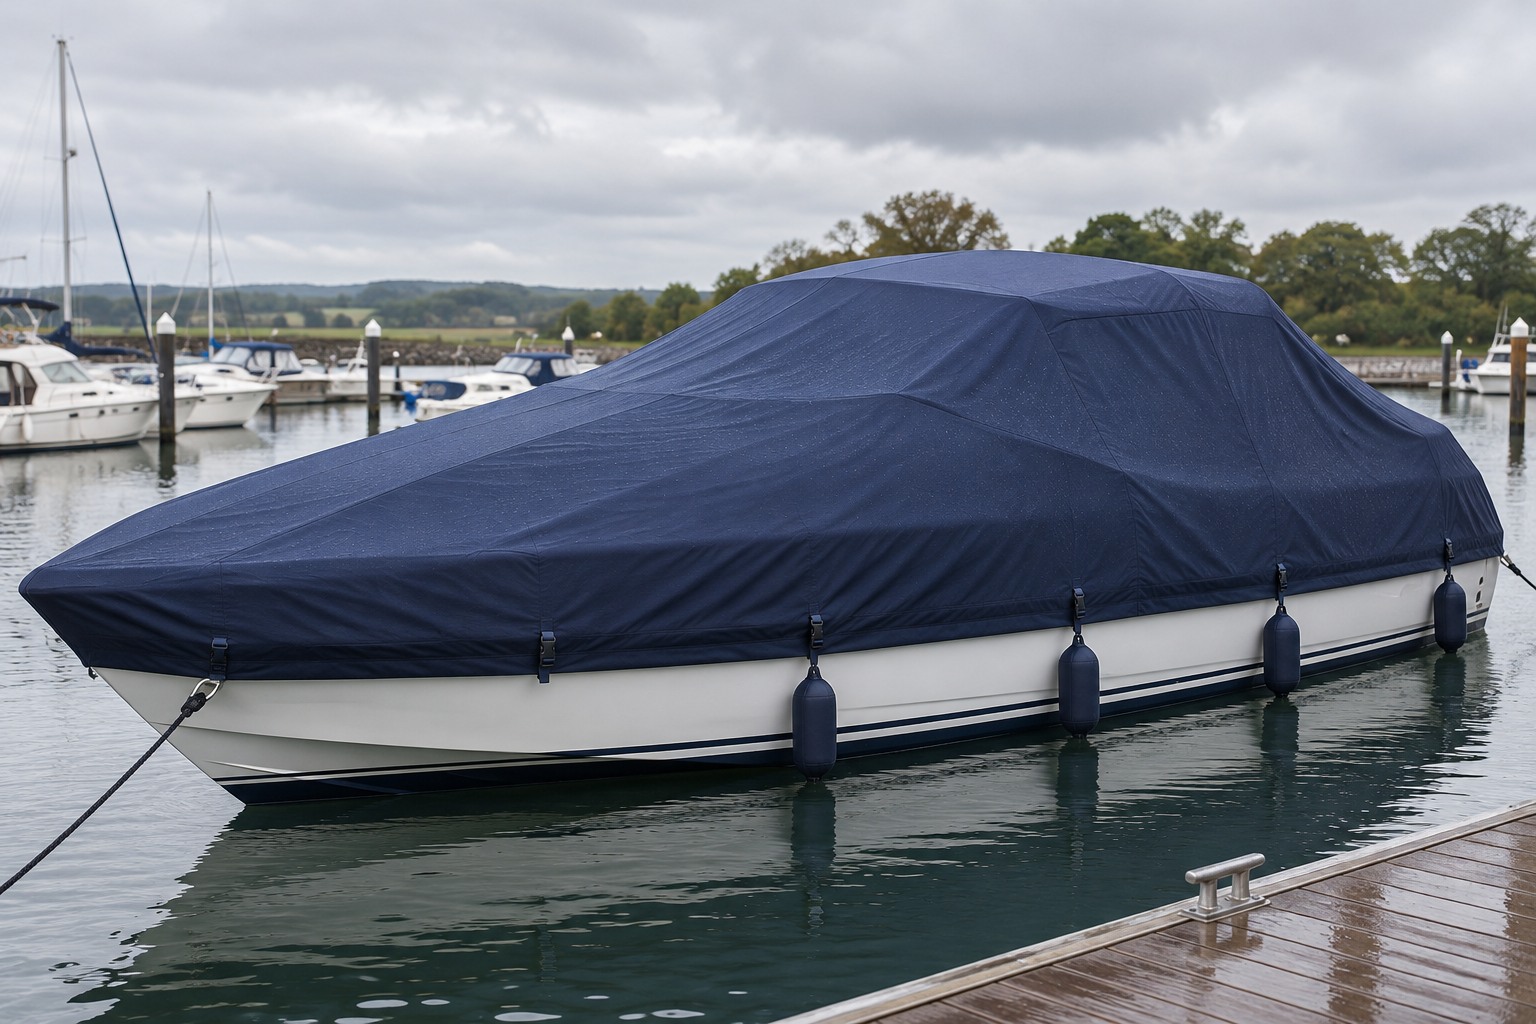

Cover: AI-generated photographic illustration informed by real overall-cover examples; not an installation record.
A useful boat cover must shed outside rain while allowing moisture inside to dry. A waterproof label alone does not tell you whether the finished cover suits your boat. Shape, seams, fastening points and ventilation all matter.
Think of the cover as a small roof. Rain on a slope can run towards an edge; a hollow can hold a puddle. Before comparing fabrics, look at whether the installed cover can shed water.
This guide focuses on an overall storage cover
Here we focus on a fitted cover extending across the foredeck, cabin roof and aft deck. Its pattern follows the boat, rather than forming a flat rectangular tent over a small part of the stern. Seat covers, cockpit covers and Biminis serve other purposes; one picture cannot represent them all. An overall cover does not mean sealing the underwater hull in fabric.
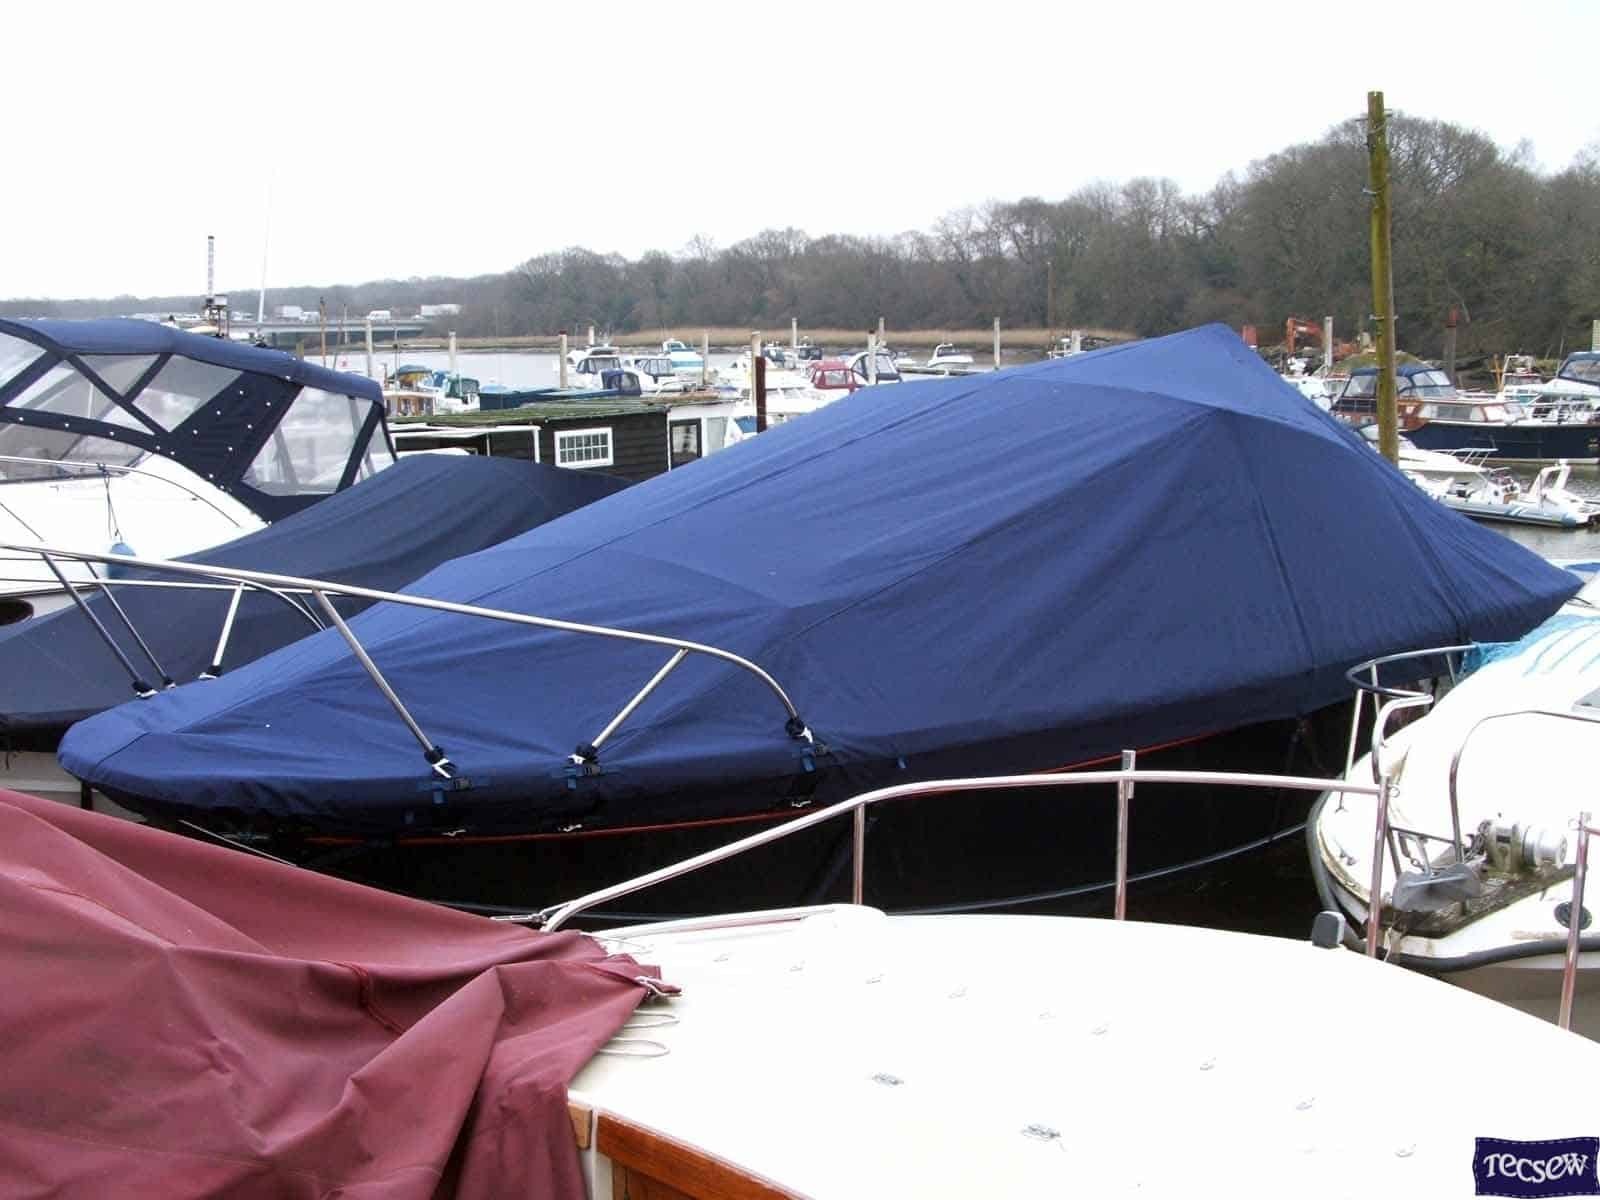
Water-repellent, waterproof and breathable
Water-repellent describes a surface that encourages water to bead and run off. It does not promise to hold standing water indefinitely without seepage. Waterproof describes resistance to water passing through a material, within the product’s intended application and conditions. Breathability concerns moisture escape; fabric thickness alone does not establish it.
Sunbrella’s marine FAQ distinguishes its repellent fabrics, Seamark and Plus rather than describing every range as identical. WeatherMAX’s marine page discusses repellency, breathability and shape retention together. Compare the specific range and construction, not just a brand name.
| Your objective | What to check |
|---|---|
| Shed rain from the surface | Repellency, slope and fastening |
| Stop local drips through a joint or hole | Stitching, joints, zips, wear and fabrication |
| Reduce persistent damp inside | Wet items, ventilation, breathable fabric and opening for drying |
Why can a new cover still collect water?
A cover spanning an unsupported area may develop a hollow. Water held there adds weight and loads the seams and fittings. Tightening one edge may not remove the hollow: the support positions and pattern need checking.
Where does the support pole go? Start with the hardware
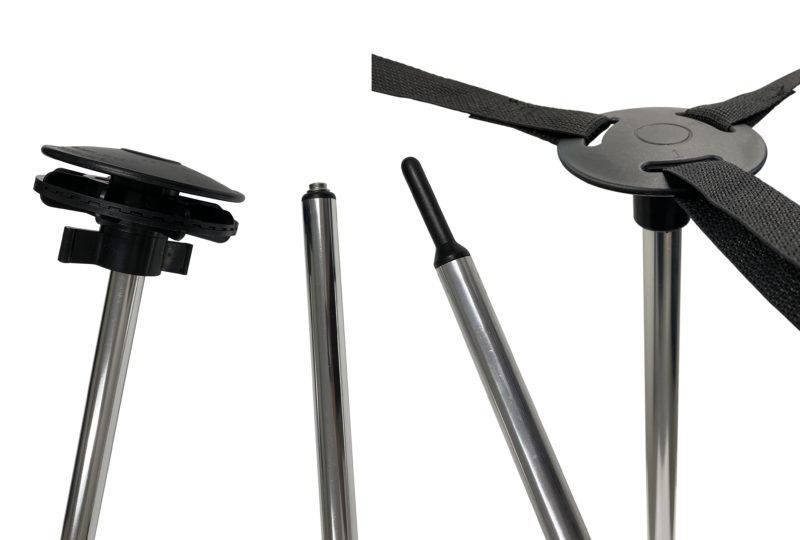
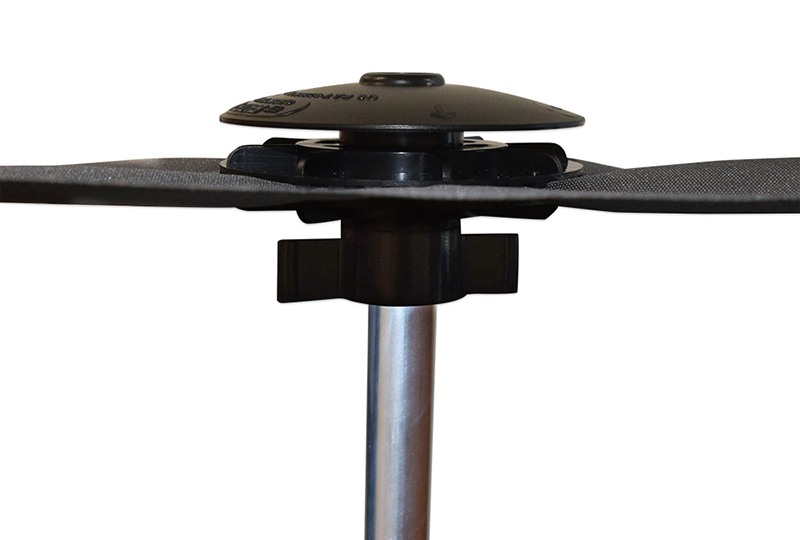
The pole stands underneath the cover and raises a position that would otherwise sag. Think of a post supporting a roof: a high point can create a slope towards the lower edges. Some systems add straps extending forwards and aft to support the spans between points. The photograph below deliberately shows the boat without its cover so you can see the pole and straps.
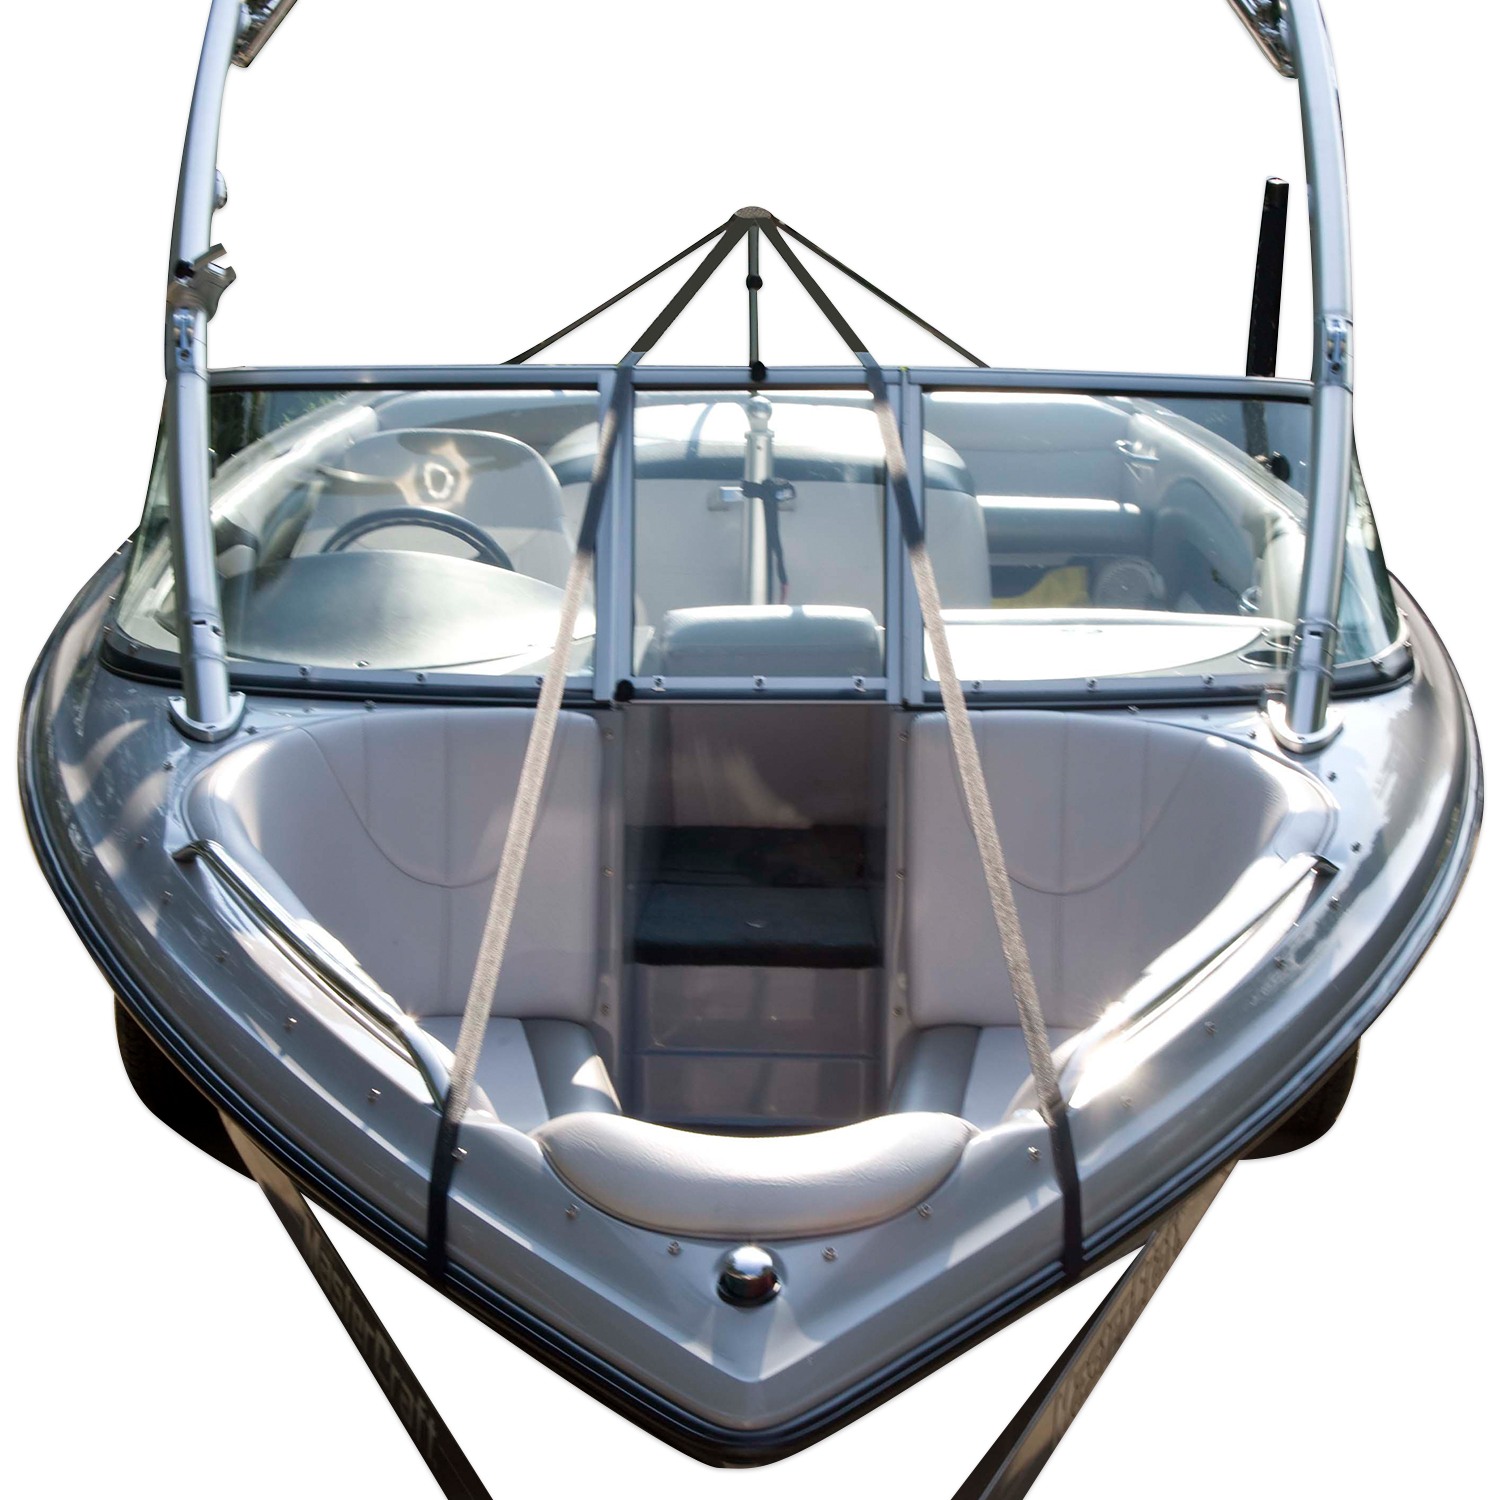
The matching cover goes over this support. Rain should run along the outside surface and off the edges, rather than drain through the fabric. Support helps reduce pooling; it does not repair damaged fabric, seams or zips, and cannot guarantee a leak-free cover.
This small-boat photograph explains the mechanism; it is not an installation plan for a large yacht. Carver specifies its 60008 system for boats up to 28 feet and storage use only. A fabricator must design the frame, spans, fixing points and ventilation for a larger overall cover. The manufacturer’s support-pole instructions (09/22) distinguish snap attachments, protected ends and a tip used with a pre-installed grommet. Do not press a bare sharp pole into the fabric.
Damp inside does not all come through the fabric
Wet cushions, ropes and other items can leave moisture under the cover. Humid air may also condense on cooler surfaces. A drip below one seam after rain and widespread dampness are different observations; record where and when moisture appears before deciding on a repair.
Ventilation can help drying but cannot guarantee freedom from mildew. Vents need suitable rain protection and positioning; cutting a random hole is not a solution. Opening the cover for checks and drying wet items remain part of care.
Four useful owner checks
- Shape: photograph recurring puddle locations and the whole cover for the fabricator to assess support and fit.
- Drip location: distinguish the fabric centre, a seam, zip or edge. Water inside alone does not prove the whole fabric has failed.
- Chafe: look for thinning or holes where hardware and corners touch. Do not prop the fabric with a sharp object.
- Drying: remove accumulated dirt and let wet items and the cover dry before folding. Open it regularly to inspect.
Identify the material before cleaning or replacing it
Sunbrella’s marine canvas care instructions use gentle cleaning, thorough rinsing and air drying as basic steps. The cleaner, dilution and any retreatment must match the specific fabric range. Do not apply one canvas bleach recipe to unknown coatings, clear windows or other fittings. Carver’s care guidance also addresses dirt, cleaning and exposure.
Ask a fabricator to inspect repeated seam leaks, strained fastening points, poor fit or hollows that support adjustments cannot resolve. Supply the fabric identity, overall photographs and marked drip or puddle locations. Compare whether a quotation covers fabric alone or also supports, vents, zips and fasteners.
Remember three things: rain needs a route off, seams need to be sound, and the space inside needs to dry. Identify the weak point before choosing support changes, repair or replacement.
For help organising yacht maintenance issues and follow-up inspections, contact Voy Yachting.
Sources
- Sunbrella:Marine FAQs
- Carver:Boat Cover Care & Maintenance
- Carver:Boat Cover Support Poles
- Sunbrella:Clean Marine Canvas
- WeatherMAX:Marine
- Tecsew: Fairey Swordsman overall cover
- Carver: Y-Strap Support System 60008
- Carver: Boat Vent II 60002
- Carver Support Pole Instructions, 09/22
Sources checked: 15 November 2026.